File Server
🪄 Step 1: Install the File Server Role
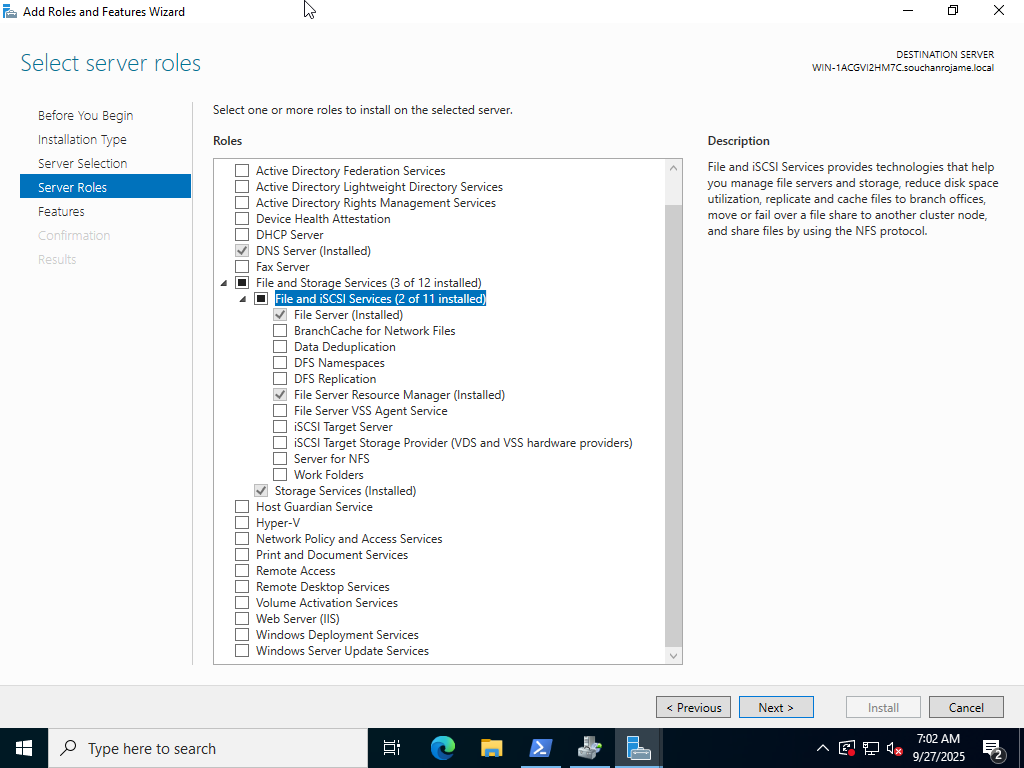
- Open Server Manager.
- Click Manage → Add Roles and Features.
- In the wizard:
- Click Next until you reach Server Roles.
- Expand File and Storage Services → File and iSCSI Services.
-
Check ✅ File Server.
-
Click Next → Install.
- Wait for the installation to complete, then click Close.
📁 Step 2: Create a Shared Folder
- Create a folder on a disk (e.g.,
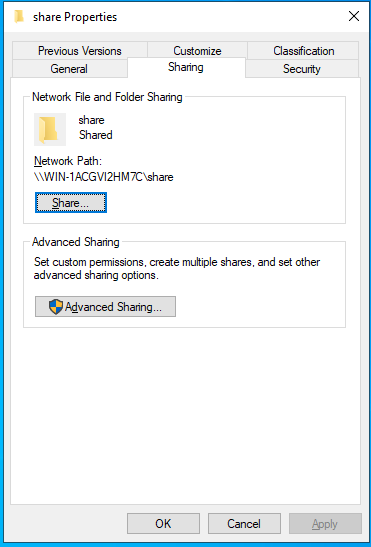
C:\Users\Administrator\Desktop\share). - Right-click the folder → Properties → Sharing tab.
- Click Advanced Sharing.
- Check ✅ Share this folder.
- Set Share name (e.g.,
share). -
Click Permissions → Add users/groups or give Everyone Read/Write if needed.
-
Click OK on all dialogs.
🌐 Step 3: Access the Share from a Client
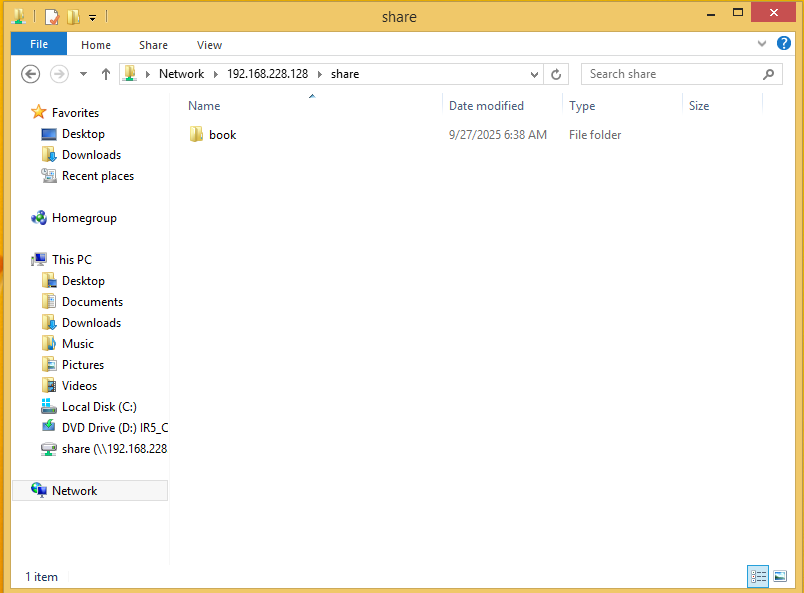
On another computer in the same network:
- Open File Explorer.
- In the address bar, type:
\\<ServerName>\share
or by IP:
\\192.168.1.10\share
You should now see the folder content.
If prompted for credentials, enter a valid user account from the server.
🔄 Step 4 (Optional): Map a Network Drive
To make it persistent on the client machine:
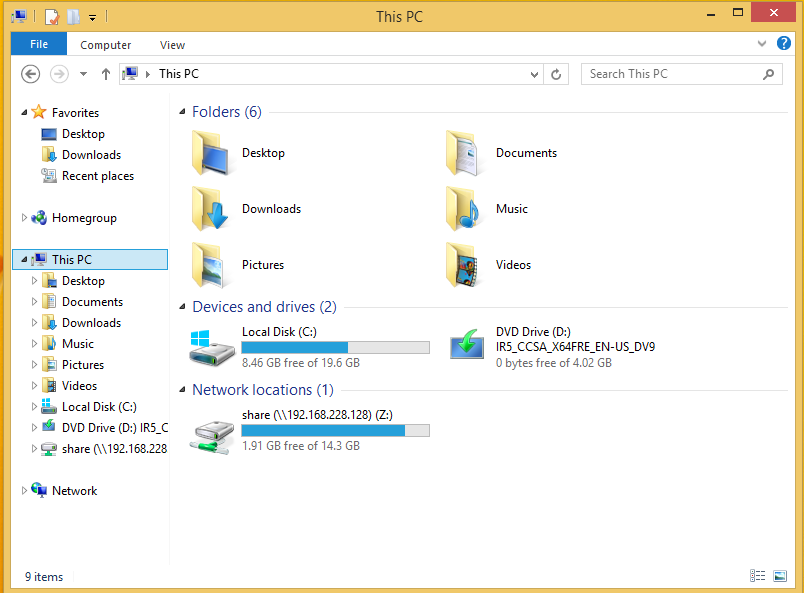
- In File Explorer → This PC → Map network drive.
- Choose a drive letter, and enter:
\\<ServerName>\share
- Check ✅ Reconnect at sign-in.
- Click Finish.